VOR and ILS Explained: CDI, TO/FROM and the Glide Slope
How a VOR and an ILS work, how to read the CDI, the TO/FROM flag, the localizer and the glide slope, the exam traps, and a free interactive trainer to practise with.
Quick answer
VOR and ILS Explained
A VOR tells you which radial you are on: your magnetic bearing from the station. With a course set on the OBS, the CDI needle shows where that course lies (fly towards it), and the TO/FROM flag says whether flying that course takes you towards or away from the station. Both depend only on where you are, never on your heading. An ILS adds two needles for an approach: the localizer for the runway centreline and the glide slope for a descent path of usually 3°, about 300 ft per NM. CPLGrid's free VOR & ILS trainer lets you move an aircraft and watch all of this happen.
Audience
Student pilots and DGCA CPL aspirants in India
Topic
DGCA Exams
Last updated
What a VOR gives you
A VOR (VHF omni-directional range) is a ground station that transmits in the VHF band between 108.00 and 117.95 MHz. Your receiver compares two parts of its signal and works out your magnetic bearing from the station. That bearing is called a radial. If you are due east of the station you are on the 090 radial, wherever your nose is pointing.
Because it is VHF, reception is line of sight: the higher you fly, the further away you can receive it. Directly overhead there is a small zone, the cone of confusion, where the indications become unreliable for a moment.
- Radial: magnetic bearing FROM the station (the same as a QDR).
- QDM: magnetic bearing TO the station, the reciprocal of the radial.
- On the 090 radial, the station is on a bearing of 270 from you: a QDM of 270.
The CDI: OBS, needle and dots
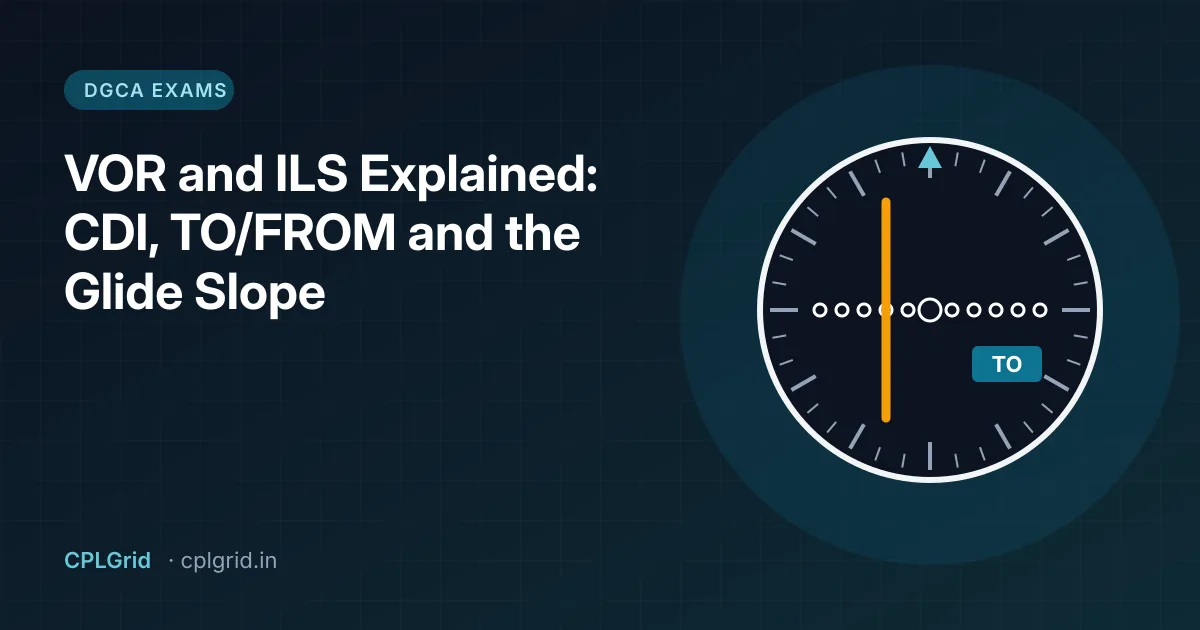
The course deviation indicator (CDI) has three parts. You choose a course with the OBS (omni-bearing selector) knob. The needle then shows where that course is relative to you, and the TO/FROM flag shows which way along it the station lies.
On a typical VOR CDI the needle reaches full scale at 10° off the selected course, with five dots each side, so each dot is 2°. Half scale, two and a half dots, means you are 5° off.
The rule for the needle is simple: fly towards it. If the needle is to the left, the course is to your left. This only holds when your heading is roughly the same as the course you have selected, which is the trap we come to below.
TO, FROM and OFF: it is about position, not heading
Draw an imaginary line through the station at 90° to the course you have selected. If you are on the side where flying the selected course would take you towards the station, the flag shows TO. On the other side it shows FROM. Exactly on that line, abeam the station, the instrument cannot decide and shows OFF (or a striped flag).
Turning the aircraft changes nothing on a VOR: not the needle, not the flag. Only two things move them: where you are, and what you set on the OBS. This is the single most common point students get wrong in the exam.
- OBS 090, aircraft on the 090 radial: FROM, needle centred. You are flying away from the station on the 090 course.
- OBS 090, aircraft on the 270 radial (west of the station): TO, needle centred. Flying 090 takes you to the station.
- OBS 090, aircraft on the 100 radial: FROM, needle full scale left. You are 10° south of the outbound course; turn left towards it.
- OBS 090, aircraft on the 000 radial: abeam the station, OFF flag.
Reverse sensing
If you set a course on the OBS that is roughly opposite to the way you are flying, the needle still shows where the selected course line is, but now flying towards the needle takes you further away from it. That is reverse sensing.
Example: you are on the 100 radial flying a heading of 090, but you have set 270 on the OBS. The CDI shows TO with the needle full right. If you turn right, you fly further from the course. The fix is always the same: set the OBS to a course close to the heading you are actually flying.
The ILS: two needles for one approach
An ILS (instrument landing system) gives guidance to one runway. The localizer, transmitting on VHF between 108.10 and 111.95 MHz, marks the runway centreline. The glide slope, on a paired UHF frequency, marks the descent path, usually 3°. Tuning the localizer frequency selects the glide slope automatically.
On the instrument, the vertical needle is the localizer and the horizontal needle is the glide slope. As with the VOR, fly towards the needles: a needle below centre means you are high and should fly down, a needle to the left means the centreline is to your left.
The ILS is far more sensitive than a VOR. The glide slope typically reaches full scale at about 0.7° above or below the path (roughly 0.14° per dot), and the localizer is set up so that full scale is only a few degrees either side of the centreline. Because these are angles, the same offset in feet gives a bigger needle deflection the closer you get to the runway.
The numbers worth remembering
- A 3° glide path is about 300 ft per NM (318 ft exactly). At 3 NM you should be about 950 ft above the touchdown zone.
- Rate of descent on a 3° path is about 5 times your groundspeed in feet per minute: at 120 kt, about 600 ft/min.
- VOR CDI: 10° full scale, 2° per dot.
- Glide slope: about 0.7° full scale, about 0.14° per dot.
- VOR: 108.00 to 117.95 MHz. ILS localizer: 108.10 to 111.95 MHz.
Common exam traps
- Thinking a turn changes the CDI or the TO/FROM flag. It doesn't; only position and the OBS do.
- Mixing up radial and QDM. The radial is the bearing from the station; the QDM is its reciprocal.
- Forgetting reverse sensing when the selected course is opposite to the heading.
- Expecting the same needle deflection for the same offset at every distance. Angular guidance gets more sensitive as you get closer.
- Reading the glide slope needle the wrong way round: needle down means you are high.
Practise with the free VOR & ILS trainer
Reading about needles only goes so far. We built a free trainer where you move the aircraft around a VOR, turn the OBS and the heading, and watch the CDI and the flag respond, with a plain-English line explaining every position. The ILS panel lets you change your distance, height and offset from the centreline and see both needles move, with the on-path height worked out for you.
Try the example buttons first: outbound on course, abeam the station, reverse sensing, high on the approach, then the same offset closer in. Then set up a few positions yourself and predict the needles before you look. It runs in your browser, needs no account, and is a simplified training aid, not for flight.
Official DGCA sources
Use current official DGCA information for licensing, examination and regulatory requirements.
CPLGrid articles are written for educational and exam-preparation purposes. DGCA requirements, procedures and aviation regulations can change; verify important regulatory information against current official sources.